

You can easily attach Magnostream directly to any standard UK 1⁄2" (15 mm) water pipe or hose without the need for cutting pipes, using tools, or hiring a plumber. If your pipe has a size of 3⁄4" (20 mm), you will need to secure the Magnostream using the four supplied screws.

Step 1: Pull the two halves of Magnostream a part

Step 2: Align the four red squares so they are facing the same direction (either all facing up or all facing away).

Step 3: Hold one half of the unit and slide it under the pipe.

Step 4: Place the other half on top of the pipe and ensure it clamps down securely.

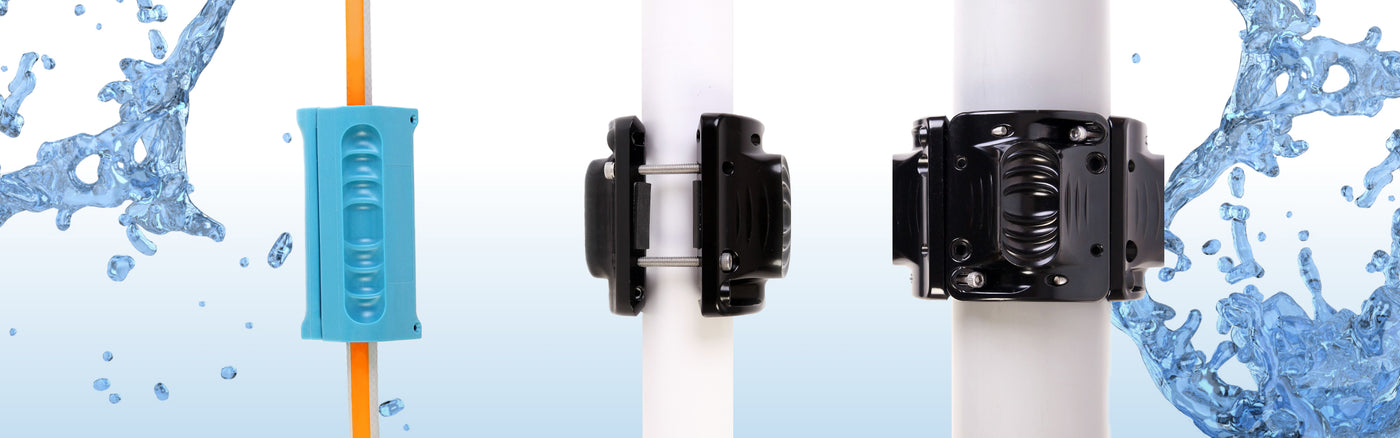
Use a Philips screwdriver to fit the four screws provided into the pre-drilled holes at each corner of the Magnostream.

Magnostream Pro is designed to fit on pipes from a diameter of 20 mm and above. For pipe sizes of 50mm and above, add extra modular links. Please add one extra link for each increase in pipe size of 30 mm.

Step 1 - remove both parts from the packaging, as well as the screws and Allen key provided.

Step 2 - place one half under the pipe and support it with your hand.

Step 3 - still holding the first half, place the second half on top of the pipe and align it with the four vertical screw holes (a).

Step 4 - partly screw in two screws from the top part to secure the unit on the pipe.

Step 5 - swivel the unit round and screw in the remaining two screws; tighten and secure.

To fit an extra modular link, you can follow similar steps to those above but use Allen screws in the four angled screw holes (b).